I have been dying to write a review of this case since I got my hands on one about a month ago, but I thought it best to wait and do a full review instead of an initial impression review. I wasn’t satisfied with a single review of the case online, I never felt like any of them were relevant to my needs. But after owning a 1510 case, I kind of know why. If you value your equipment and don’t mind lugging around a heavy case, pelican cases are for you. There is literally nothing I can say about it, when you have it in your possession, you’ll realise it’s the greatest case available, you’ll realise that any worries you had about it were stupid. If you don’t like heavy duty cases then you can stop reading here, this case isn’t for you.
Why did I want one?
Well, this has an interesting story. I was photographing a hockey (field hockey) match in a school on the Southside of Dublin, I live on the North. I got the bus down with one of the teams as I’m the official team photographer but their coach was umpiring the match after theirs and I didn’t feel like sticking around, it was already about 5pm and since it’s Ireland I live in, it was on the verge of being night time. I decided to walk to get the train home, it was about a 25-30 minute walk to the nearest train station, then a little longer amount of time on the train followed by a 15 minute walk from my local train station to my house. The amount of walking didn’t bother me, it was nice to have a stroll about. But I had about 15kg or more of camera gear crammed into a Lowepro Slingshot 302 AW that was destroying my back. It was fine for a little bit, then got annoying and finally became a horrible pain. I lift weights frequently so deadlifting and squatting big weights is something I do every week, so my back is used to being worked hard. But carrying a camera bag is just agony. So I decided it was time to get a better bag.
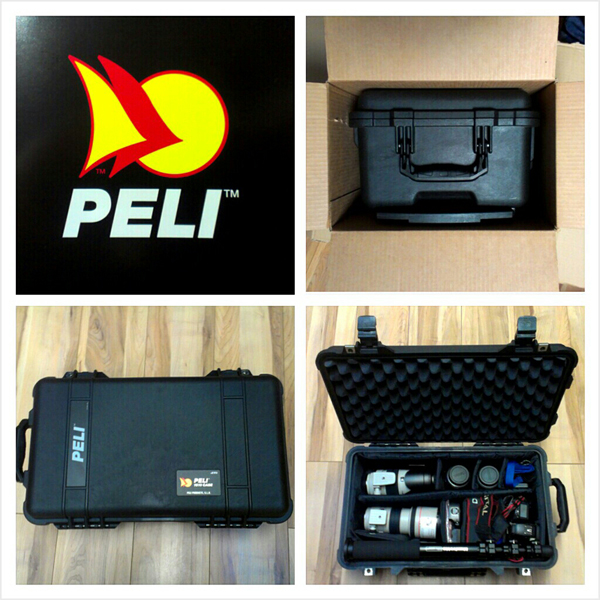
I was initially looking some other kind of backpack, then moved on to roller cases. I had photographed a rugby match before and chatted with a professional sports photographer from a big agency here in Dublin, noticed he was using a hard case. From then on I started looking at these pelican cases, looked at the 1510 model he had and fell in love. I had a brief look at the Think Tank rolling cases but my honest opinion is that they are stupid. Well, stupid in a country where the weather is a huge factor. Fair enough, in America it can be sunny all the time but even then I don’t like the idea of those cases. I liked the durability and usability of the pelican cases and really liked that it could be used as a seat on the sidelines. When I found out the cases literally don’t break, I just went ahead and bought one. It arrived, and I stuffed every bit of gear I own in it.
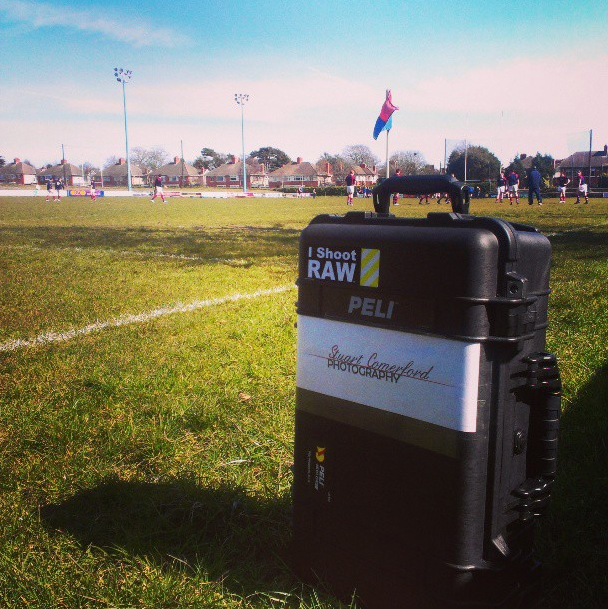
 Instagram picture from @StuartComerford
So…what’s it like?
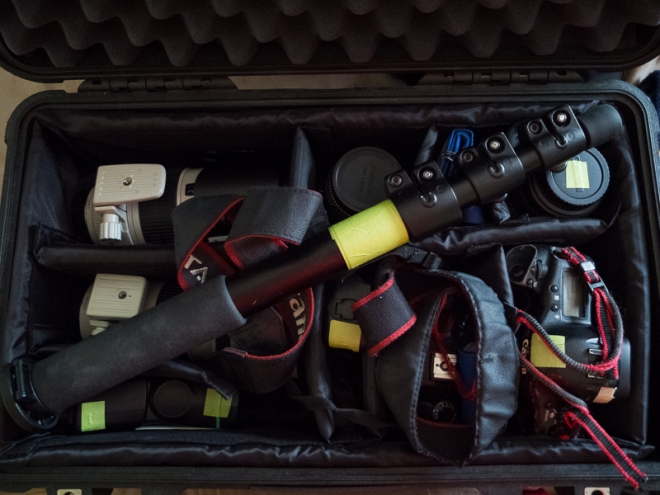
I could just say it’s amazing and end the review right there, because honestly, that’s my only opinion of it. It hold a lot, but not all of my equipment. There are a few little bits which don’t fit in (I probably haven’t given much thought to packing it properly though) but it does hold quite a lot, everything I should ever need for a particular shoot. And I know the case will hold some of the great whites, it definitely holds a Canon 400mm F/2.8, the photographer I mentioned earlier that I shot a rugby match with, he had a Canon 400mm F/2.8L, Canon 70-200mm F/2.8L and two 1DX’s in his 1510 case. How? I haven’t a clue, but I must be packing my case wrong to be running out of space so quickly, it’s a problem I have with all my bags/cases (those years of tetris as a child have failed me!). In my case I can fit a 1D Mark IIN, 40D, 70-200mm F/2.8L, 300mm F/4L, 24-60mm F/2.8, 10-20mm F/3.5, batteries, cards, flashes (1 Canon 430 EX II and 2 Yongnuo YN 560 II’s), cloths and a monopod on top. However, the monopod does dent the foam on top, but so far that hasn’t proved a problem. This is how I currently have my gear laid out (for photographing sports, like rugby, hockey, GAA, football etc.):

I have walked the rough streets of Dublin for several miles with this equipment in the case. The case and bumped around on the rough ground and has twisted and turned in my hand, bashed of footpath edges, bumped against steps and scraped across roads, the case is very badly scratched down by the wheels (only cosmetic damage) but nothing inside has broken (and I keep the lenses down at the bottom by the wheels!). I trust the case to protect my equipment and it hasn’t failed me yet, and I doubt it ever will fail me. I have discovered though, maybe it’s just my lack of experience with roller cases (I rarely go on holidays so I don’t even have experience wheeling roller suitcases) but the case turns a lot, it could be my wonky walking but as I’m walking along it will tip slightly more onto one wheel then spin around it my hand and I’ll have to pause for a moment to turn it around again. It’s annoying, I doubt it’s the case’s fault but it is still one of the two things I don’t like about the case. The other thing being the incredibly loud noise it makes when wheeling it along rough ground! I also discovered that the case doesn’t roll very well on grass, I wouldn’t expect it to roll very well on grass but it’s a shame it doesn’t. I have no problem picking it up and walking with it for a while, the 25kg or whatever the case (containing equipment) weighs is very little to me, easily lifted and carried around for a period of time. Yesterday I walked around a rugby pitch about 3 times without putting it down, as I was searching for the best spot to set up. The weight is something to keep in mind, as that bothers a lot of people. My solution for the problem: become stronger. Simple.
Once I was set up with everything at the rugby match then it was easy to open the case, take out my equipment and sit down. The case acts as a seat. Easily the most amazing thing about this case. I’m not a fan of kneeling due to how uncomfortable it is, even with gel knee pads. I’m not for bringing my own seat (like a foldable chair) as some do as I see no point in doing so when I could have it as an all-in-one package. A case that acts as a seat, fantastic really. My sister also uses it as a table for her cup of tea whenever she’s in my office as there’s rarely any place for her to put her cup. I frequently use the case as a footrest and step on it for an extra reach up as well. It’s held up exceptionally well. However, there’s a slight dip in the lid from me sitting on it. I weigh 115kg and my weight has caused a tiny, but noticeable, dip in the lid. It’s a little trickier to open the case after getting off it at the end of a match than it is to open at the start of the match. But this hasn’t damaged the case, I’ve sat on it loads and it holds up. I’ve seen videos of these cases being run over by jeeps and they still work perfectly! I have an unfortunate habit of picking the case up by the extending arm (meant for wheeling the case, not lifting I believe) which worries me. I have bad thoughts about that snapping but it seems durable. A bit wobbly but that’s just because it’s not sealed down tight as it needs to be able to extend up to wheel the case.
 Me using the pelican 1510 case as a seat during a rugby match
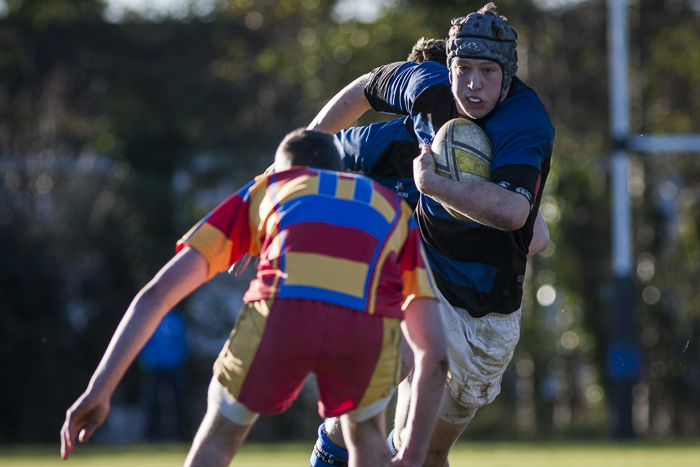
The case provides a great vantage point for field sports. For field sports, the lower you are, the better the shot will be. It’s lower than I would be if I were kneeling (and a lot more comfortable!). Sitting with my legs extended, I can very easily let go of my camera on the monopod and pick up my other camera for when the action gets closer, like I did for the following two tries. On the second camera I keep a 70-200mm F/2.8L lens, preset to 70mm as I’d rather shoot too wide have to crop than shoot too tight and have to discard the photo. I wasn’t very far from the try line, about 8 feet or so.


It allowed me to sit comfortably and not worry about getting my jeans filthy from the ground. Except when I kneeled down to get my gear out of the case and got my knees a bit dirty. It was easy to sit around and let the action come to me, I could rest my phone on the edge of the case when shooting and easily pick it back up again when the action got closer to me, I also kept my spare batteries on the other side of me, resting on the edge of the case.
I intend to design/create a clamp type device to attach a flash bracket to the extendable arm of the case, so I could (if needed in an emergency) use it as a flash stand. I can think of so many uses for this case, it’s not just limited to being a case. It’s also a magnet for stickers/design, I just feel as if I want to stick things to it all the time. I have a habit of putting stickers on my cameras (I have a huge “I SHOOT RAW” sticker on my 1D Mark IIN) and, as you may have seen, I cover my gear in tape, so I don’t bump settings/knock of focus rings. (I use green tape to identify that it’s my equipment, I also have business cards stuck to lens hoods). And I’ve ended up decorating my pelican 1510 case like this:
 Instagram picture from @StuartComerford
Conclusion
What can I say about the case? It’s the best case available on the market (referring to pelican cases in general, not this specific model). It’s in a different league to every other kind of camera case, it screams “serious” and “professional”. When I arrive to a shoot with this I just feel the part, usually that doesn’t happen until I take out my camera. I feel a little embarrassed sometimes when wheeling it around because it attracts attention, especially considering how loud it is. But at least people step out of your way when you’re walking. I feel safe keeping my gear in the case, and I think that’s the most important thing about it all. Except that it’s a seat, that’s a pretty huge point.
Pros
-Safety
-Durability
-It’s a seat as well as a case!
-Fits airline carry on regulations (not a big point for me since I don’t intend to travel with my photography)
-Water tight, weatherproof, rugby player resistant (I’ve had a player crash into my case and it’s still going!)
-Much smaller than I expected it to be, makes it very convenient for transport. It will even fit on a public and private bus/coach easily.
-“Serious” factor, it’s like whipping out a really big white lens at a sports match, people will treat you differently and give you space to do your job. They’ll whisper “oh, back up, he’s a professional, let him go”. Definitely a plus for some people.
Cons
-Ridiculously heavy by most people’s standards
-Doesn’t wheel perfectly on all surfaces (this is to be expected though, you’d need huge wheels to work perfectly on all surfaces)
-Expensive for most people (but it’s price is completely justified by everything mentioned in the pros list)
-Not exactly discrete in any way, it makes a lot of noise and is big and clunky to carry around casually
It’s an interesting scenario. Some people like to walk around with the thought that they won’t get beaten up and mugged for their camera equipment, so they opt for a bag that doesn’t look like it could have camera gear in it. But honestly, the case would make an incredibly good weapon if someone tried to mug you. But then again, that might land you in court for murder. I cannot describe to you how intense this case is, if you value your gear then you’ll buy it. If you’re weak and think it’s a ridiculous looking case, then it’s not for you.
However I, have named my case “Bobby”. Bobby and I are now the best of friends.
Website | Twitter | Facebook | Instagram